


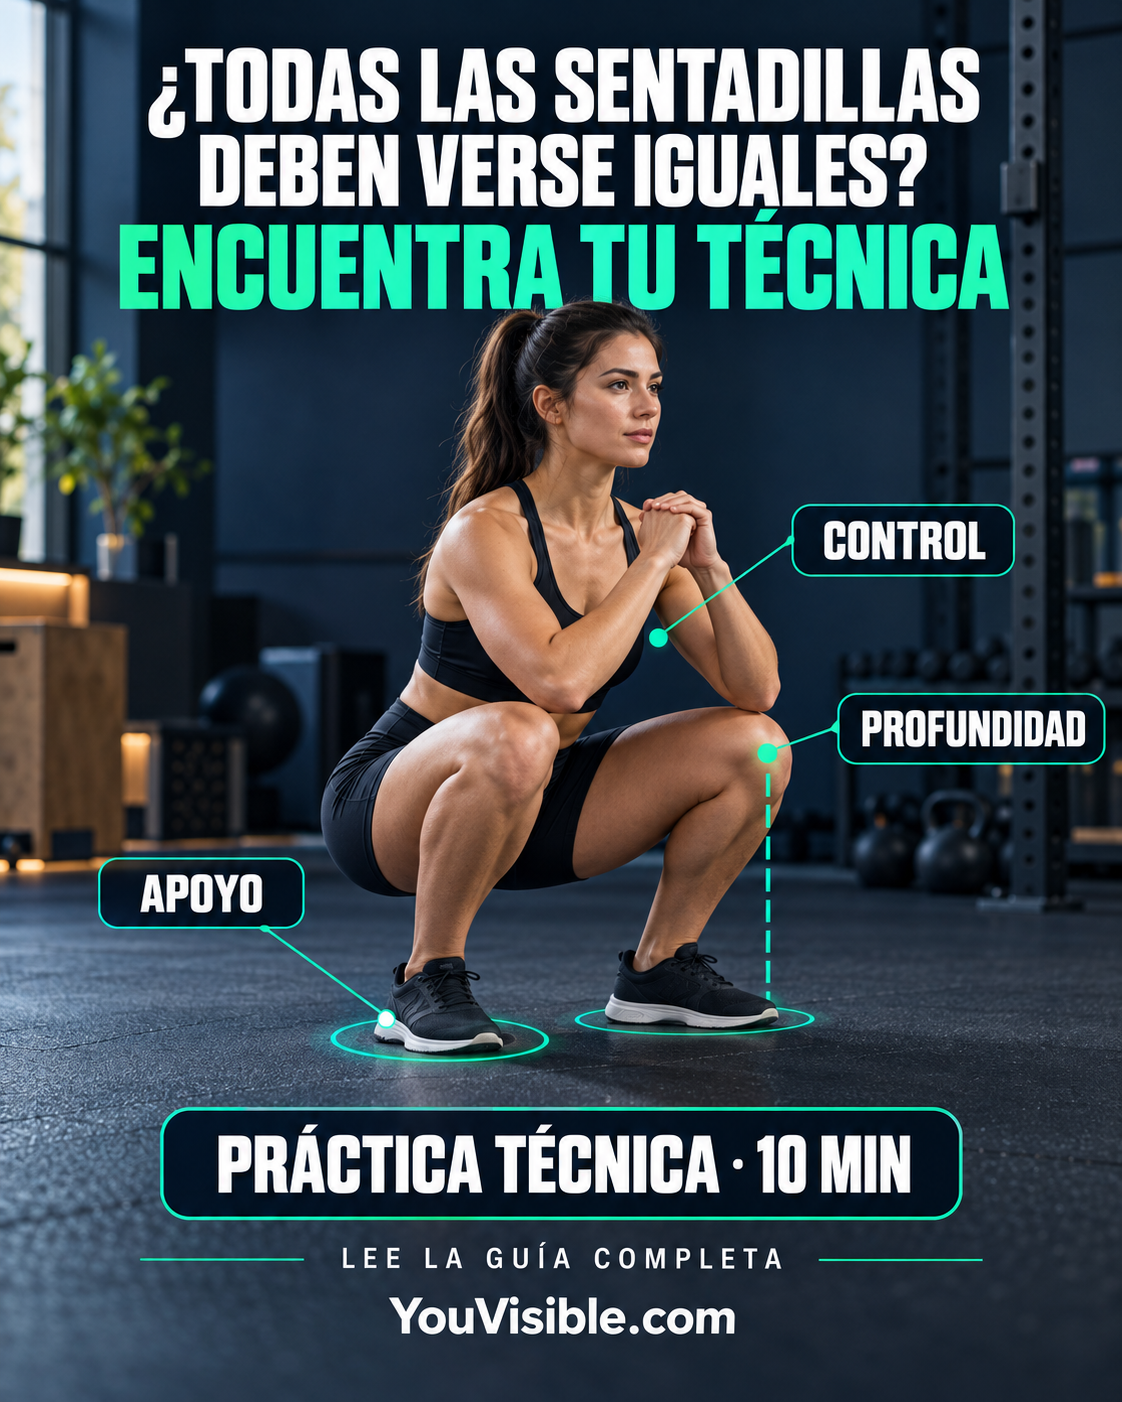
A squat may look simple, but different people will not—and do not need to—perform it in exactly the same way. The relative length of the torso, thighs and lower legs, available mobility, experience, footwear, load and training goal can all change what the movement looks like. Two squats can look different and still be controlled.
Learning how to squat correctly is therefore not about copying one “perfect” position. It is about finding a version that is stable, controlled, comfortable and repeatable for you. The following cues are starting points for practice, not a substitute for an individual assessment.
What is a squat for?
The squat is a movement pattern that coordinates the hips, knees and ankles while the body stays balanced over its base of support. It appears in training and in everyday actions such as sitting down, standing up, lowering yourself or picking something up.
You can squat using bodyweight, a dumbbell, kettlebell, barbell, band or another form of resistance. A chair squat can help you learn the range; a counterbalance squat may make balancing easier; barbell variations require suitable experience and progression. The right option depends on your current ability, context and goal—not on which one looks most advanced.
The American College of Sports Medicine's 2026 update on resistance training emphasises consistency, appropriate effort and individual goals. For most healthy adults, a programme does not need unnecessary complexity. Begin with a variation you can repeat well and develop it gradually.
Five reference points for a stable, controlled squat
1. Find a comfortable foot position
Start with your feet roughly shoulder-width apart and allow the toes to turn slightly out. This is a useful starting point, not a universal rule. Hip anatomy, body proportions and the chosen variation may make a somewhat narrower or wider stance more comfortable.
Test small, deliberate changes. Move your feet a few centimetres or alter the toe angle slightly, perform several unloaded repetitions and notice where you find space, contact and stability. Avoid changing stance width, angle, shoes and depth all at once; otherwise, it becomes difficult to identify what helped.
2. Keep your feet supported
Use three contact points as a guide: the heel, the base of the big toe and the base of the little toe. Pressure does not have to remain identical across all three throughout the movement, but the foot should feel secure and the heel should not lift unintentionally.
Only descend as far as you can maintain that contact and control the ascent. If your heel rises, your weight shifts abruptly or your foot becomes unstable, reduce the depth and review your stance. Our ankle strength and balance routine offers complementary ideas, though it is not a mobility assessment.
3. Coordinate your hips, knees and ankles
A squat is more than pushing the hips backwards. As you lower, bend at the hips, knees and ankles together, keep the trunk firm and distribute the movement in a way that lets you remain balanced. Reverse the movement smoothly rather than rushing out of the bottom.
Trunk angle will not be identical for everyone. Relative torso and leg length, mobility and load position all influence it. The aim is not to stay completely upright, but to organise the trunk and retain control. The biomechanical review by Straub and Powers explains how trunk and shin inclinations affect squat demands.
4. Track your knees in the direction of your feet
On the way down and up, aim for the knees to travel in a direction consistent with the feet. Avoid sudden, uncontrolled movement inwards or outwards. This does not mean locking the knees into place or expecting precisely the same path from every body.
Nor should “your knees must never pass your toes” be treated as an absolute rule. Forward travel depends on anatomy, ankle mobility, depth and squat variation. The review by Illmeier and Rechberger concludes that generally restricting this travel is not an effective strategy for healthy, trained people. Prioritise stability, control and progression appropriate to your experience.
5. Use a depth you can control
Not everyone needs to reach the same depth. Lower yourself while you can maintain foot contact, breathing, trunk stability and a smooth path. Mayo Clinic's squat guide also recommends adapting the range when sound form cannot be maintained.
A stable chair or bench can provide an external reference. Choose a comfortable height, touch the surface gently and stand again without dropping or fully resting. As control develops, you can adjust the height or range gradually.
A 10-minute technique practice
This session is for exploring and repeating a comfortable technique. It is not designed for training to failure, accumulating fatigue or lifting your maximum load. Keep repetitions in reserve, rest when needed and use a stable chair in a clear space.
- Preparation — 2 minutes. Walk gently, move your ankles and hips through a comfortable range, and perform a few shallow knee bends without chasing maximum depth.
- Chair squat — 2 sets of 8 repetitions. Touch the chair lightly without dropping onto it or resting completely. Use it as a depth reference and keep your feet supported.
- Slow-lowering squat — 2 sets of 6 repetitions. Take three seconds to descend, pause briefly and rise under control. Notice foot contact, knee direction and stability.
- Counterbalance squat — 2 sets of 6 repetitions. Hold a light, manageable object in front of you. Its purpose is to assist balance, not to add a heavy load.
- Free squat — 1 set of 8 repetitions. Repeat the variation you controlled best, using the same stance, a comfortable range and a continuous rhythm. Stop or return to the chair if your technique deteriorates.
Mistakes to avoid
- Copying someone else's stance exactly without considering your proportions and mobility.
- Chasing depth at any cost and losing foot contact or stability.
- Adding weight before you can control the movement with a manageable resistance.
- Changing many variables at once and not knowing which caused the result.
- Unintentionally holding your breath over several repetitions.
- Continuing when sharp or increasing pain appears.
- Mistaking general guidance for an individual assessment.
Today's YouVisible challenge
Spend ten minutes practising the squat without pursuing a load or a maximum repetition count. Afterwards, record:
- The foot position that felt most stable.
- The depth you could control.
- The part of the movement where you lost balance.
- Your perceived effort from 0 to 10.
- The adjustment you want to repeat next time.
- How you felt before and after practising.
You may record a few repetitions from a safe angle, provided that placing the device creates no hazard or distraction. Video can add another point of view, but it does not replace an assessment by a qualified professional.
In YouVisible, you can save the exercise, your sensations and what you learned. A technique session is not measured only in kilograms or repetitions: understanding how you move is also part of your sporting development. Our guide to strength, balance and independence explores why useful physical abilities matter beyond a single performance number.
Share your experience in Comunidad Visibles if you wish. An adjustment that helps one person may prompt somebody else to observe their movement, but it does not mean both people should move in exactly the same way.
Find YouVisible on Android, iPhone and the web.
Which part of the squat do you find hardest to control: foot contact, depth, knee tracking or balance?
Sources
- American College of Sports Medicine — Resistance Training Guidelines 2026.
- Mayo Clinic — Squat exercise.
- Straub and Powers — A Biomechanical Review of the Squat Exercise.
- Illmeier et al. — The Limitations of Anterior Knee Displacement during Different Barbell Squat Techniques.
Notice: This content provides general educational information and does not replace an individual assessment. If you have an injury, pain during exercise, a medical condition or mobility limitations, consult a qualified healthcare or exercise professional.
Save your sporting story. Share it. Make it visible.