


Ankle sprains are common in sports involving jumps, turns and changes of direction. An off-balance landing, contact with another player or an unexpected foot placement can demand more than the ankle can manage at that moment. A previous ankle sprain also raises the risk of another episode, particularly when strength, balance or confidence have not fully recovered.
Balance, strength and neuromuscular training can help reduce further episodes, but it cannot remove risk completely. Research on lateral ankle sprains supports exercise as one element of a broader prevention strategy, not as a guarantee. There is no single optimal prevention protocol for everyone either: any plan needs to reflect the sport, experience, injury history and wider training schedule.
This routine can be used two or three days per week as a practical starting point rather than a universal prescription. Six minutes is an approximate duration once you know the movements. Never rush a repetition or give up control simply to beat the clock.
Why ankle care matters
Balance helps you detect small changes in body position and respond before losing your base of support. Calf strength helps control the ankle, lift the heel and transmit force while running or jumping. Neuromuscular control coordinates the foot, ankle, knee and hip so that a landing can be stable while still adapting to the situation.
These abilities do not work separately, and they are not limited to the ankle itself. Practising them can improve the quality of your foot contacts and prepare more controlled responses for sporting tasks. A routine on its own cannot prevent every injury, however. Training load, fatigue, playing surface, footwear, contact and the demands of the sport all matter.
Before you begin
Use a firm, stable and clear surface, with something nearby to hold if needed. Work without pain and keep every movement slow and controlled. Perform the routine before training as part of your warm-up, while remembering that it does not replace a complete sport-specific warm-up.
If you have a recent sprain, pain, swelling or repeated episodes in which the ankle feels as if it gives way, consult a healthcare professional before using the routine. An individual assessment can establish which tasks are appropriate and when to progress.
Preventive routine
Complete two rounds of the circuit. Move calmly and allow a few seconds to change sides or exercises where necessary.
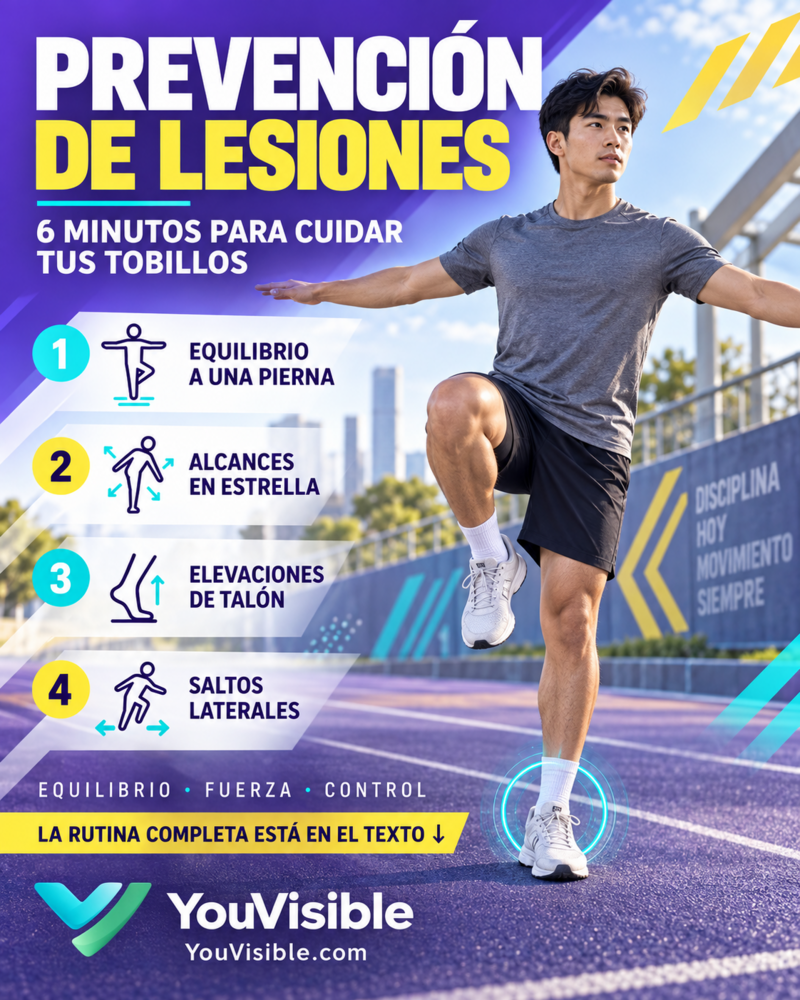
1. Single-leg balance
Hold for 30 seconds on each side. Keep the knee slightly bent, the foot planted securely and the pelvis controlled. Avoid leaning the trunk to chase every small wobble.
If balance is difficult, touch a wall or rest your fingertips lightly against it. Reduce the challenge before trying to progress. Closing your eyes is not a suitable first progression because it removes an important reference and can quickly reduce movement quality.
2. Star reaches
Stand on one leg and touch the floor with the other foot in front, to the side and behind you. Those three directions make one round. Complete five rounds on each side.
Choose a reach that lets the supporting knee, ankle and foot remain aligned, with the pelvis reasonably steady. Reaching farther is not the aim if the foot twists, the arch collapses or the knee drops inward. Shorten the reach and regain control.
3. Calf raises
Perform 12 to 15 repetitions on both feet. Rise under control, pause briefly at the top and lower without dropping. Distribute your weight evenly and avoid allowing the ankles to roll outward.
Only progress to one leg when you can complete the whole movement without swaying, turning the foot or using momentum. A wall may provide light guidance, but do not use your arms to lift your body.
4. Short lateral hops
Complete two sets of eight repetitions per side, doing one set in each circuit round. Keep the sideways movement small and aim for quiet, controlled landings. On contact, align the foot, ankle and knee, then stabilise before the next hop.
Include this exercise only if you already train, jump and change direction without pain or instability. When impact is not yet appropriate, replace each hop with a controlled lateral step followed by a single-leg pause.
| Exercise | Suggested dose | What to watch | Easier option |
|---|---|---|---|
| Single-leg balance | 30 s per side | Stable foot, soft knee and controlled pelvis | Touch a wall or use fingertips |
| Star reaches | 5 rounds per side | Alignment and a reach without compensation | Shorten all three reaches |
| Calf raises | 12–15 on both feet | Controlled rise and lower, no momentum | Use less range and nearby support |
| Short lateral hops | 2 × 8 per side; one set each round | Small movement and quiet landing | Lateral step with a single-leg pause |
How to progress
Change only one variable at a time. You might increase the balance time slightly, extend the reach, move from two legs to one for calf raises, add a ball or a simple secondary task, or gradually increase the demand of the hops.
Do not combine every progression at once. Keep a version for several sessions so you can judge your response. If you repeatedly lose balance or alignment, reduce the difficulty, range or speed. A useful progression is one that preserves control, not one that merely looks more impressive.
Mistakes to avoid
- Rushing the exercises.
- Assuming that greater difficulty means better technique.
- Allowing the knee to collapse inward.
- Lifting or excessively turning the supporting foot.
- Starting immediately on an unstable surface.
- Hopping with pain, swelling or a giving-way sensation.
- Trying to turn a preventive routine into treatment for a recent injury.
- Comparing both ankles without considering injury history or individual differences.
Today's YouVisible challenge
Complete the two rounds without pain. Record which exercise brings out the most instability, whether there are clear differences between sides, which variation you used, whether you noticed discomfort before, during or after the routine, and which progression you might try later.
An activity is not only kilometres, time or repetitions. It is also sensations, learning and development. Keeping these observations over several weeks can help you notice changes and describe your experience more clearly to a coach or healthcare professional.
Share the challenge in Comunidad Visibles if you would like to exchange experiences with other athletes. The app can give continuity to your notes, but it does not replace a professional assessment.
Find YouVisible on Android, iPhone and the web.
When to seek healthcare assessment
This is prevention, not treatment. Seek healthcare assessment if there is visible deformity; severe or increasing pain; substantial or worsening swelling; numbness or altered sensation; inability to put weight on the foot and walk a few steps; persistent instability; or symptoms that do not improve or become worse.
These signs indicate that assessment is advisable, but they cannot determine the severity of an injury on their own.
Sources
- Martin et al. — Clinical Practice Guideline: Lateral Ankle Ligament Sprains, JOSPT (2021).
- Wagemans et al. — Exercise-based rehabilitation reduces reinjury following acute lateral ankle sprain: systematic review and meta-analysis (2022).
- McKeon and Hertel — Systematic Review of Postural Control and Lateral Ankle Instability.
- American Medical Association — What doctors want patients to know about ankle sprains and strains.
Notice: This content provides general educational information and does not replace assessment, diagnosis or treatment by a healthcare professional.